
This week it has been my job to move the character into Zbrush and create a high poly sculpt along with paint the textures. This allowed me to test normal maps, displacement maps and skin shaders. The images below so the character after I had finished sculpting. It took a lot of time to add very fine details but I hope that these subtleties make the character look far more profession and believable.


From here I generated normal and displacement maps from Zbrush and took them into Maya to apply to the character. So far, this has only been tested on the head, but normal maps seems to be the best option. Displacement maps didn't help as much as I'd hoped and they increased render time a lot.

No maps Applied.

Normal Maps

Displacement Maps
The effects are subtle but add an extra level of detail that is normally missing from student films. These sculpts need some refinement, especially in the hair geometry. I've also started polypainting in Zbrush which allows to paint directly onto the 3d model. This works really well and although it will need refinement it is a great way of creating a base texture for your model. The images below are directly from Zbrush showing the first stage of the texturing using polypaint.


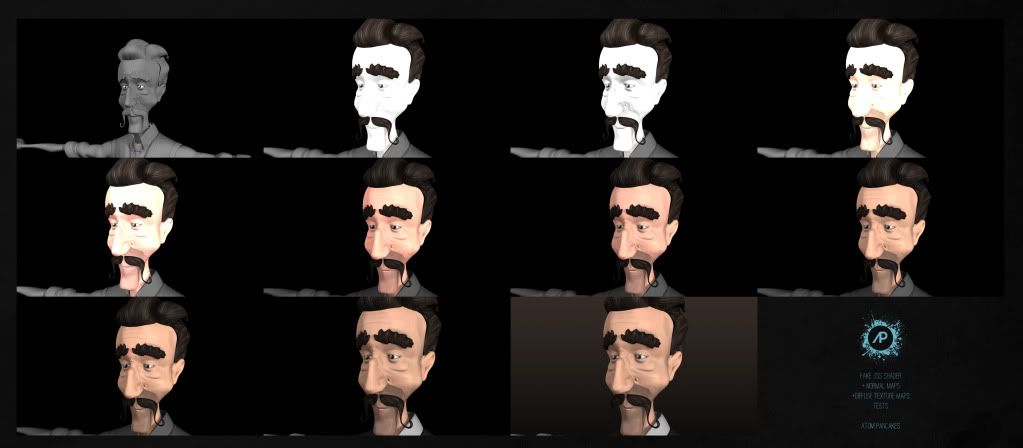
This texture requires more work but I have used it in the first test for the fake sub surface scattering shader. The images below show how this shader is refined.

There is a lot of work to be done in refining this process but it is starting to come together nicely. In the meantime I've also started work on sculpting and texturing props. The image below shows the writer's chair in it's first sculpting stage.


Keep posted for a lot more work soon.
No comments
Post a Comment